Jings and crivens- another bonus post! (This isn't this week's normal Monday post, this week's normal post is scheduled for Wednesday, International Women's Day - could be a mahoosive clue to what it is is about there.) Having seen a number of 'how to paint...' tutorials on YouTube, and having painted just a few Wars of the Three Kingdoms/British Civil Wars/ English Civil War (delete as you see appropriate) I thought I'd have a crack.
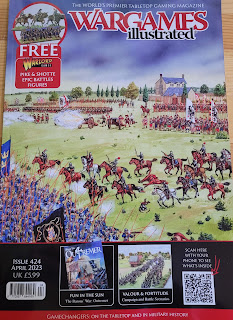
Once again, I need to say thank you to Warlord for sending me a preview frame of the new range.
The examples that I have seen all utilise speed/contrast paints, and strange things such as zenithal priming. So here is a different style of painting to consider. Caveat: they look pretty rubbish until they are finished - some would say they still look rubbish even when finished.
I freely admit not to being a brilliant painter, at best I'm average. My painting style is firmly planted in the following routine:
- undercoat (if I remember)
- carefully colour everything in
- apply some specific washes (armour, flesh, blonde hair)
- go back and fix all the errors I have noticed, or missed completely
- heavy Nuln Oil wash
- occasionally add a highlight
- varnish
- base
 |
| Proof that I can paint |
Works for me, and looks alright I think. I don't claim to be 100% accurate, but I do try to utilise what historical evidence we do have with a bit of I want to create the right sort of feel. If you are wondering why I have picked the colour palette that I have see
here.
I've previously wondered
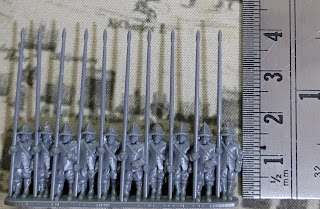
how long it takes to paint a regiment of foot, which if you can't be bothered clicking on the link (and who could blame you)- it works out to just under eleven minutes a man from opening the packet to having a finished based figure ready to play with. Will Epic be faster or slower? I don't really want to paint up a full unit, so will just paint up a strip of musketeers and an armoured pike strip - then work out an average time per figure.
The style of the strips means that the use of
a painting handle should make life easier, if not quicker as well. I'm going for a regiment that has had a coat issue, to help speed things up. Individual figures such as commanded shot and cavalry will still benefit from being fixed to tongue depressors.
Unfortunately I have currently run out of spray primer and varnish so brush on will have to suffice, this may add a little bit of time on, as will unfamiliarity with the figures (I can figuratively paint Peter Pig foot in my sleep I've painted so many of them).
Please note drying times not included.
Prep work. Time 7.27
Trim from sprue, clean any mould lines, wash and dry (to remove any mould release agent), fix to painting handle caps, prime white.
Flesh Time 3:45 Total 11:12
I paint all flesh with an old Coat d'Arms (henceforth Cd'A) flesh 213 which has thickened, been thinned, thickened and thinned many times - once dry I wash locally with Citadel Reikland fleshtone. A note on pikemen's hands - pikemen would almost certainly have worn gloves, so I will be painting them as wearing leather gloves.
Armour Time 6:15 Total 17:27
I am going to give some men blackened armour and some russeted armour - blackened is Foundry blackened barrel 105A (this benefits from heavy black stain - which will come at the end), russeted is Foundry bronze barrel 103A with a seraphim sepia wash.
 |
| Told you that they would look awful didn't I? |
As I have started using a number of different colours for the same process I have made my self post-it note codes to help me remember which colour I should be using - saves me having to flip them around to make sure that both sides match. With individual figures it is easier to see which figure is which. Not really needed if you are using one colour for everyone.
Breeches Time 6:33 Total 24:00
I usually pick three or four colours for breeches, unless we know what colour breeches were issued (e.g. Hertfordshire Trained Band Orange Regiment were issued grey breeches, in which case I might have just two shades). Today I have gone for Cd'A Russian brown 528; Foundry granite 31c, spearshaft 13b and drab 12c.
Coats Time 9:57 Total 33:57
Settled on a red coated regiment, so picked three shades: C'dA 237 russet red, and Foundry madder red shades 60a and 60b. That's the bulk of the labour intensive stuff out of the way, I expect the process to speed up considerably now.
Block colours Time 30:30 Total 1:04:27
A quick block of colours now - white; black; shoes (Humbrol 110 natural wood, Cd'A 519 chocolate brown); hair (Cd'A 219 chestnut brown and 233 linen); leather, wood and chargers (Cd'A 218 wood brown); snapsacks (Cd'A 240 unbleached wool); hats (Humbrol 110 natural wood, Cd'A 519 chocolate brown, Foundry granite 31c storm blue 39c and phlegm green 28b); weaponry woodwork (Cd'A 219 chestnut brown).
Tidy & metals Time 1:06:15 Total 2:10:42
A quick tidy up, and fill in the bits that I have missed, followed by musket and pike metalwork - don't forget to paint langets on your pikes (Foundry 35b metal), hatbands/cuffs and collars in white. I paint sword baskets and musket head rests in Vallejo glorious gold, purely to give a bit of bling (glorious gold is quite a dark gold, a bit more like brass than bright gold).
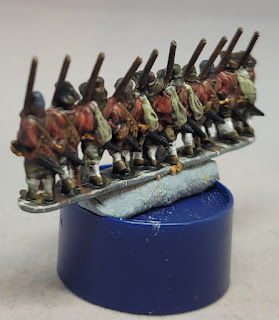
Wash and varnish Time 16:10 Total 3:26:52
My figures have all been washed with the old recipe Nuln Oil which stains everything as well as pooling in nooks and crannies, hence why some of my paint shade choices might be considered a bit bright. The odd bit of highlight added (mostly leatherwork). As with the primer, I have run out of spray varnish so that will have taken a bit longer. Final finishing touch is a satin varnish of any armour.
Conclusion
I'm not going to base these figures as I'm not going to be using them.
I love painting but didn't really enjoy painting these, perhaps if I practised on a few thousand more I'd hopefully be a bit better (and maybe I'd change my mind).
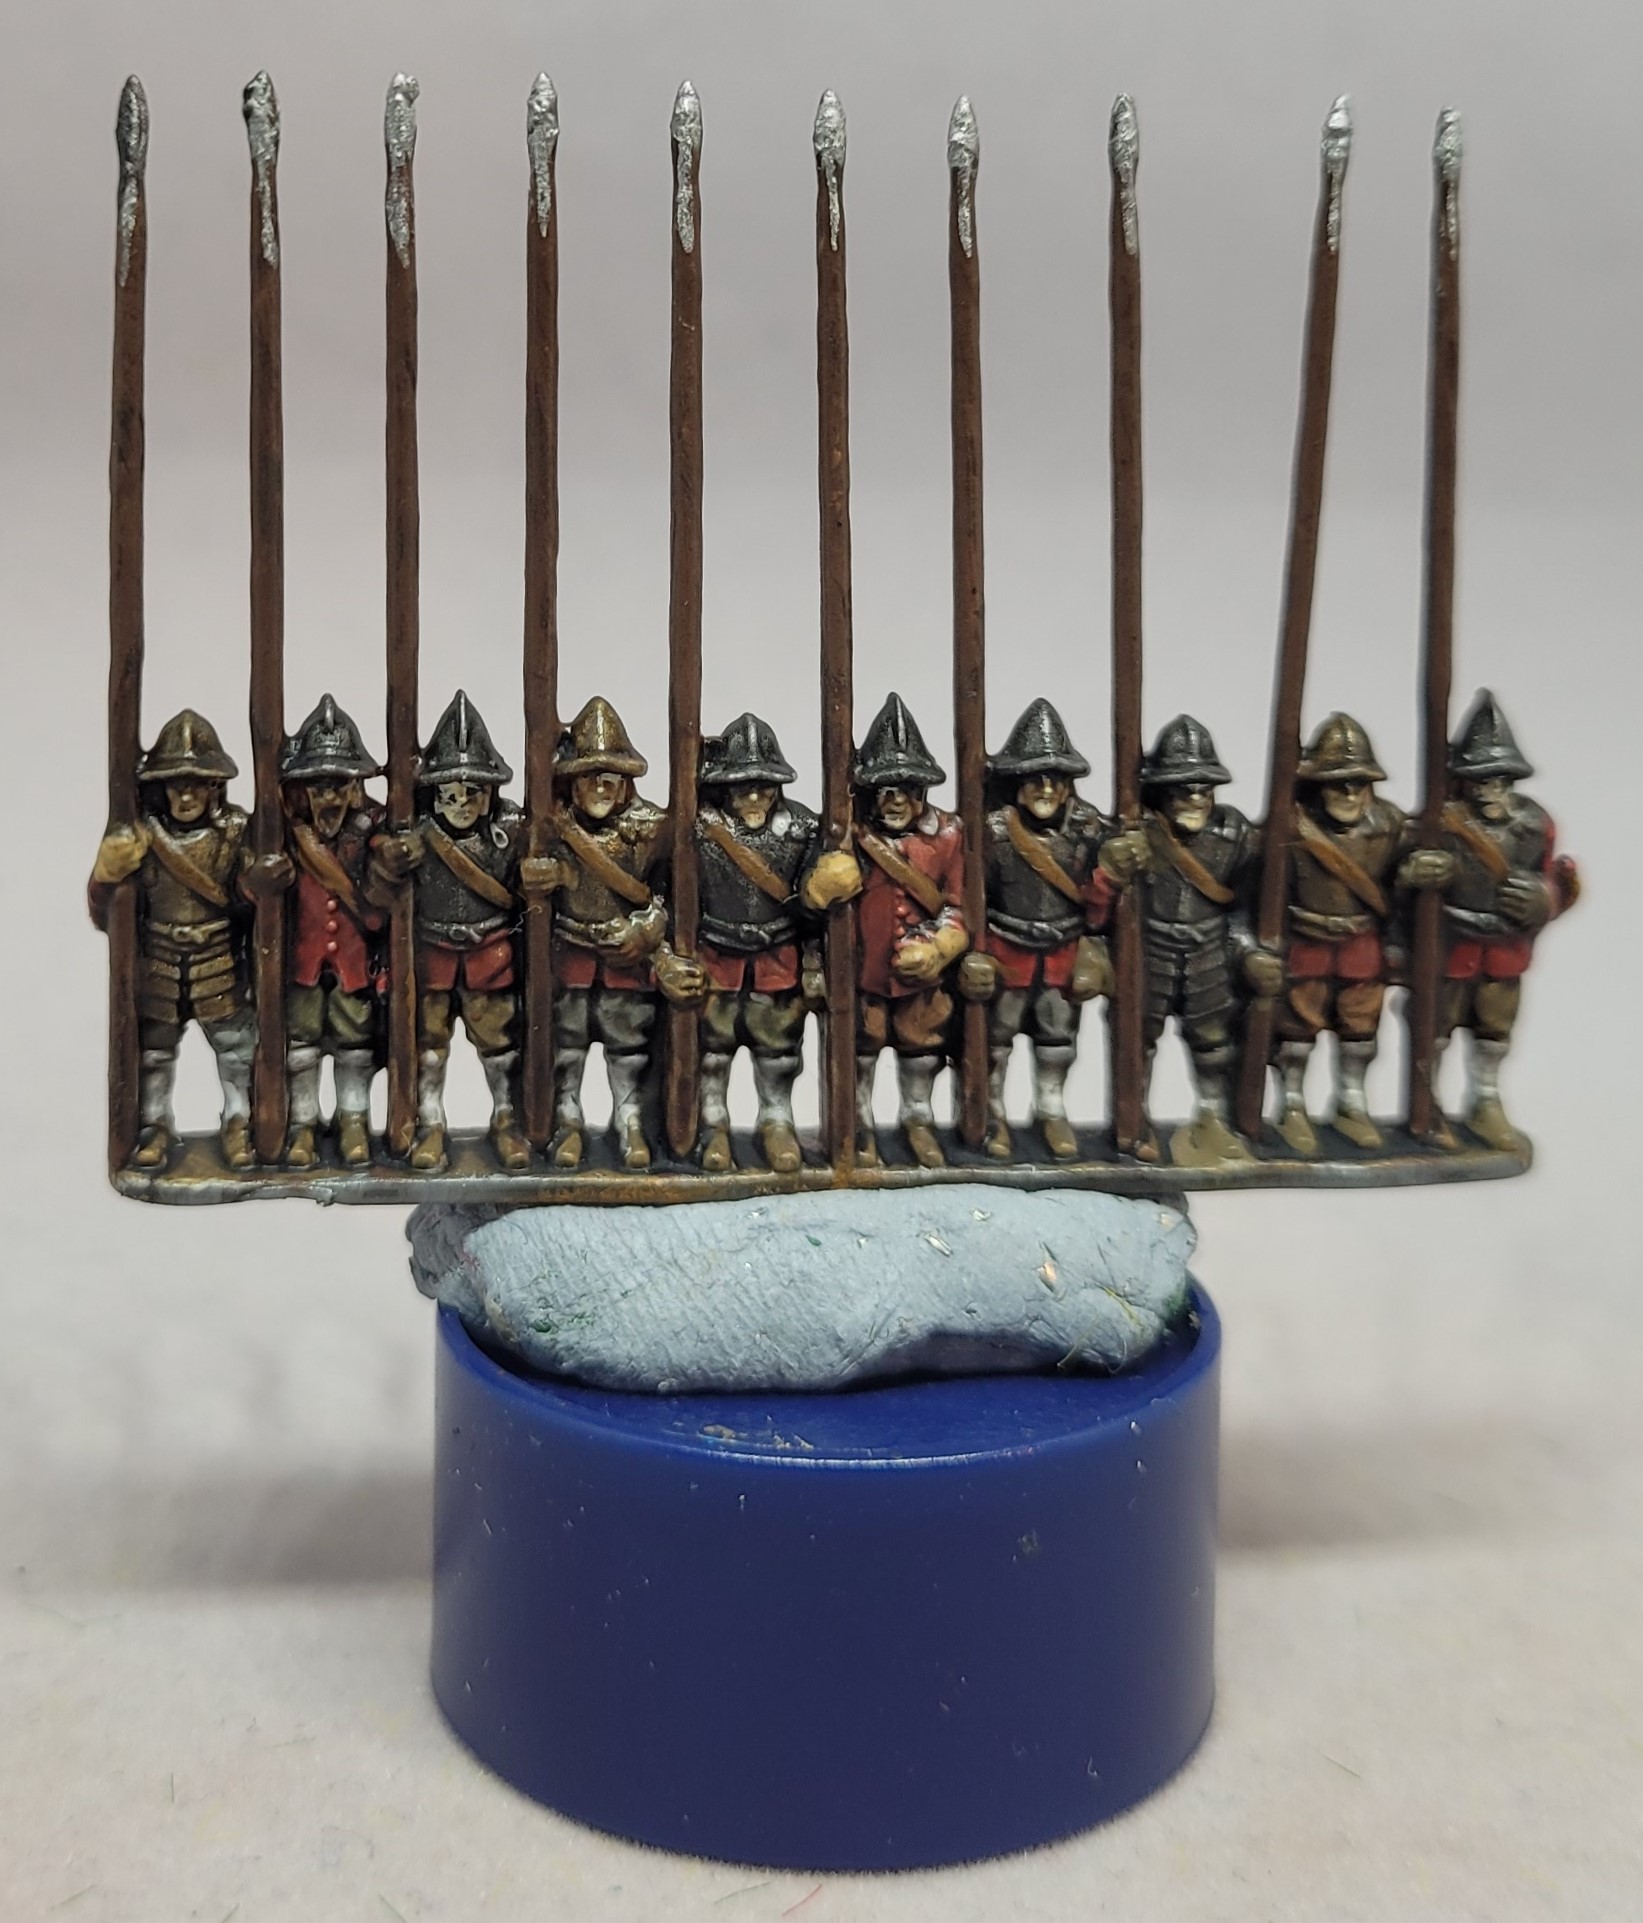
There is a very definite skill to painting Epic strips, which I very clearly don't possess. A completely new painting experience for me, this didn't feel like painting normal, individual 3D figures; this was more akin to painting flats. Which requires a different mindset and approach.
I can see quite a few errors - which no doubt will look much much worse magnified on a computer screen. For those of you who have produced hundreds of Napoleonic Epic figures I tip my hat.
The crowded strip certainly speeds things up but I did spend a considerable amount of time trying to work out where things were and what they were, then having to go back and repaint stuff because I had either missed it completely or misidentified it. This is inevitable the first time you paint something new, particularly with smaller sized figures - if I was planning on painting a lot of Epic I'd basecoat one of each strip black then drybrush white; these would become my detail reference points. Of course those of you who get on with optivisors or magnifiers might find this a little easier.
I don't think it helped by choosing to paint a red coated regiment (red and my choice of brown differentiation can be difficult before adding the black wash). With practice I could get a lot faster. I thought that the armoured figures would benefit from my lighter russet paint recipe - I was wrong, they definitely need the Agrax wash rather than the Seraphim one I gave them.
I know that this comparison is flawed: my un-based metal figures take about 9 minutes 45 seconds each, these work out to about 10 minutes 35 seconds per man. I imagine my first attempt at painting Peter Pig figures would have produced a much slower time than I can achieve now.
 |
| Curses! Just noticed the errant brown splodge up the third musketeers leg |
For a first attempt they have fulfilled their brief - I now know where the detail is, how the figures work with the paint and washes (for example Peter Pig figures have much higher raised detail which works really well with a wash, these figures have shallower detail and wash results are much more subtle), and how to approach painting these figures.
Hopefully you will see this as something else to think about rather than the very in vogue contrast style paints.
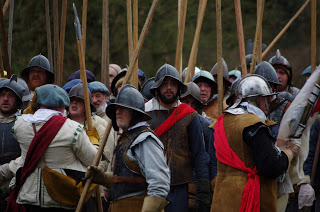
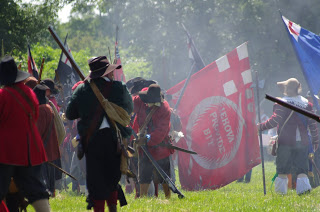
Please indulge me whilst I have a little moan. It seems to be derigeur for Epic floppy hats to be painted in ridiculously bright colours - bright blue, purple, bright green and so on. This appears to have started with a YouTube painting 'influencer'. Whilst I fully understand his desire to make the strips 'pop', it is very incongruous. Floppy hats were browns and greys. The woollen beanie type hats (Monmouth and Montero caps) were often more colourful and in some cases patterned with stripes (see the examples found at Spitsbergen) - save the bright colours for those hats.
Obviously this opinion is my own, but it is firmly rooted in research into contemporaneous dye colours and surviving examples in museums and collections across the British Isles and Europe. They are your toys, please paint them as you see fit - I will happily claim the title button counter, but I am not dictating how you paint your figures.
This moan is purely to make those of you new to the period aware of what hats actually looked like, rather than the Epic wargamer fact™ that appears to have taken hold.
If you enjoyed reading this, or any of the other posts, please consider supporting the blog. Thanks.


Isn't it interesting how figures that are the same scale take to different painting methods? Your Warlord Epic figures look very good... and I respectfully prefer your finished Epics to your Peter Pigures. But beauty is in the eye of the beholder, right?
ReplyDeleteI saw that you mentioned sticking with your Coat d' Arms paints on purpose. Have you tried Contrast Paints yet on your ECW? I've recently experimented with Contrast Paints w/ Vallejo highlights on 28mm ECW with interesting results.
Thanks again for the post! I always enjoy your content.
Metaphorical cheque is in the post. Thanks for your kind words.
DeleteContrast style paints? Never tried them to be honest. Why? Firstly I am a very messy painter, there's a heck of a lot of touching up goes on. Which is a big issue with contrast paints I believe.
Secondly I have two A4 sized RUB chock-full of paints. I hate to think how much they cost, I'm not going to replace them until they run out. Plus I know the colours I have and how they work with other colours and shades.
Finally, the examples that I have seen painted with contrast paints, I think that they look and work best on larger surfaces with deeper sculpting - a 28mm figure's cloak for instance, would be the perfect surface for them to do their magic. I just don't think that smaller sized figures allow the paints to do what they are supposed to do. (Plus I don't think that the colour palette is quite right for C17th cloth dyes.) Those 15mm and 10mm figures that I have seen painted with contrasts my first impression was that a very similar effect could be achieved with block painting and a stain style wash such as old recipe Nuln Oil.